|
|
|
. If read carefully, this guide will be invaluable for learning essential computer skills.
Topics included in this are as follows:
· Ergonomic measures to take while using the computers
· Starting the computer
· Logging on to the network[1] (don’t worry if you don’t understand this now, more will be explained later….).
· Using the computer
· Opening programs
· Saving files
· Getting familiarised with Windows (more on that later….)
· Using programs
· Steps to back up[2] files on a computer
· Turning off the computer
· Exiting Windows
Don’t worry at this stage if you do not understand this, It will be all explained in this user-friendly guide.
Before you start using the computer you must make sure you are comfortable, but at the same time keeping a straight position. It is essential that this general rule is followed, to maintain the correct posture.
When seated you can adjust the monitor (which looks like a TV screen). As a guideline you should have a horizontal line of site from you to the monitor. Make sure you move the keyboard and the mouse (the plastic thing with two or three buttons on it) to a position that you feel comfortable, while keeping your wrists straight.
Before you start the computer there are some things to know:
· Floppy Disk Drive; This is the slot at the front of the computer that is about 31/2” long and quite narrow. It holds floppy disks that store information. This is called the ‘A’ drive.
· Floppy Disk: This looks like a thin bit of plastic and can save information on it like a picture or a letter you have created on the computer. It can be removed when the green light next to it is not showing.
· Hard disk: You cannot see this, but it is a part of the computer that also holds information. It can hold lots more information than a floppy disk. The information stored in the hard disk is called Software. This can be called either the ‘C’,’D’ ‘E’, ‘F’, ‘G’ or ‘H’ drive. You will find when using the Massey computers there are four.
· Operating system: This is software (or information) that makes the computer run so people can use it.
· Program: More software on the computer that help write letters, essays and do spreadsheets and lots of other specific things. These can also be called applications.
Located in front of you is a box that has a button on it, push this on to turn on the computer This square button is located next to the Floppy Disk Drive. If the computer is turned on already a green light (or some colored light) will show next to the button so you won’t have to worry about this. You must turn the monitor on as well, by pressing the button on the top (you can see it by standing up) or at the bottom . Once again, a light will be on at the bottom of the monitor to indicate whether or not it is switched on.
Once switched on you will have to wait for 3-5 minutes while the computer starts.
‘Logging on to the computer’ means that you have to enter a username and password. To do this press CTRL, ALT, DEL keys on the keyboard (at the same time). You will probably notice that there is an arrow (or cursor ) on the screen. Where user-name is displayed left click the mouse button over the white box next to it, then enter your user name. Now press the ‘TAB’ key to go down to the box called ‘User Context’ and use the up or down arrows to find what type of user you are. Press ‘TAB’ again and enter your password then press the ‘ENTER’ key.
Wait for a while as you are being logged on to the computer network.
You are now in the part of the computer that is of most importance to you. A screen will come up that has a gray bar at the bottom, this is called the taskbar. The program you are currently using is called Windows NT 4.0. What is so special about it? Well, NT is what makes the computer run and is called an Operating System. As you have probably noticed that you can move the cursor around still, this is done by moving the mouse.
If you click on the ‘Start’ button, with the left mouse button you can bring up a list of things to do. Don’t worry about the list except for program, under this list you can find plenty of things that are useful. However, if you want to type a letter or document there is also a bar up the top (called the Office toolbar).
Now that you have become familiar with Windows NT, you can now start using programs located on the Office toolbar (explained above). The programs that will be of importance to you are:
· Microsoft Word
· Microsoft Excel
· Microsoft Access
· Microsoft Powerpoint
· Windows Explorer
All these programs are represented by what is called an icon, for example Microsoft Word has an icon displaying ‘W’ and Microsoft Excel has an icon displaying ‘E’. If you click on ‘W’, Microsoft Word will appear, now you can start typing a document. This is easily done by clicking on the white area and start typing.
[See Fig 1 below]
[Fig 1.]
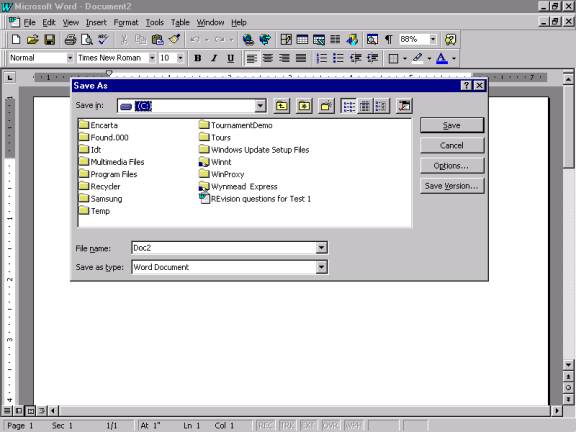
A file is a term used to describe something that has been created by typing words, e.g; previously you typed a document. Now to make sure you can edit what you typed later on you can save it on the computer. The steps to do this are left click on ‘File’, (if in MS word) which is near the top left corner of the screen and then move the cursor down to save. A smaller screen will appear, that has ‘save as’ at the top. Now the computer will ask you where to save the file, for example the A: drive. By left clicking the mouse on the box that has ‘save in’ next to it you can choose where to save it. Now left click on the ‘file name’ box and you can type in the name you want to give the document. Then left click the ‘SAVE’ Box and the document will be permanently saved.
To open this file later on click the left mouse button on the ‘File menu’ again and select Open. You can choose what file to open by following the same steps in Saving a file, except this time you select which file to open.
[See fig 2 below]
[Fig 2.]
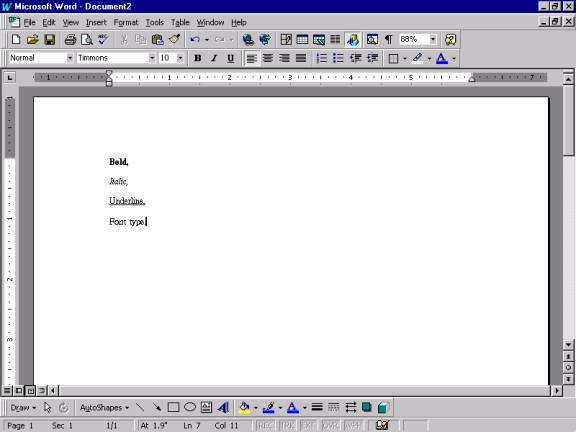
Now that you know that you can type a document you might want to edit it. For example, giving it a thicker font. To do this click on the word you want to stand out and drag the mouse (with the left mouse button) to select the whole word. Now click on the ‘B’ icon (or button) and there you have it, an edited Word that looks bolder. You can also use the following to change the appearance of your words and headings:
· ‘I’ icon to change to Italics
· ‘U’ icon to change to Underline
· Left click on the boxes next to the ‘B’ icon to change the type of font and the size
[See Fig 3]
[Fig 3.]
Other programs that I will not explain in depth are:
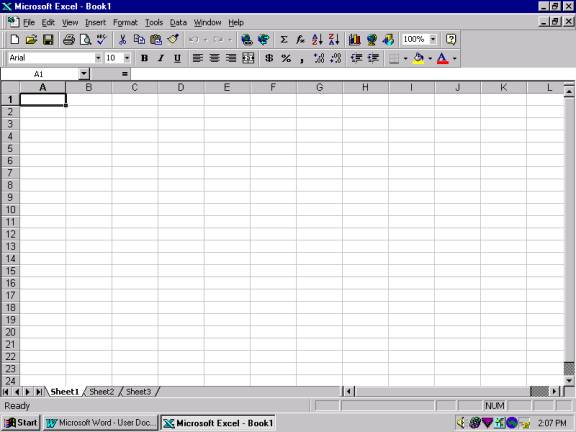
· Excel: This is a spreadsheet program[See Fig 4]
· Powerpoint: Good for presentations [See Fig 5]
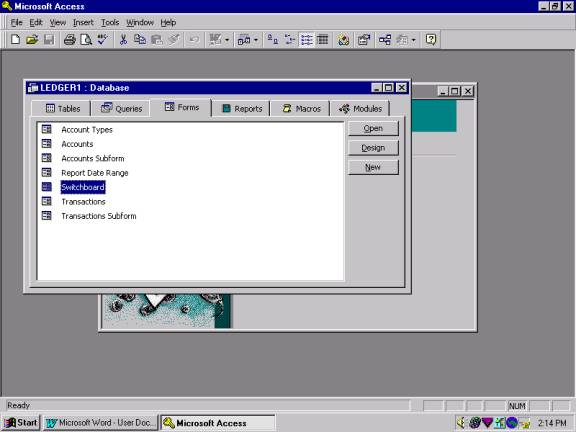
· Access: A database, which means huge amounts of information about anything, e.g; Customer names and phone numbers/ addresses. [See Fig 6]
You can apply what you learn In Microsoft Word to all these , so if you want to save a file, you would do it in the exact same way.
[Fig 4.]
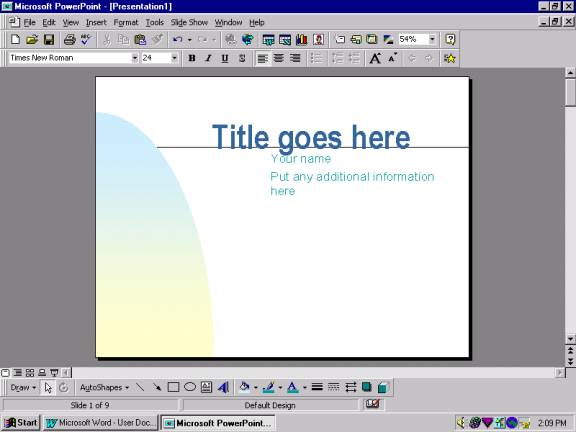
[Fig 5.] & [Fig 6.]
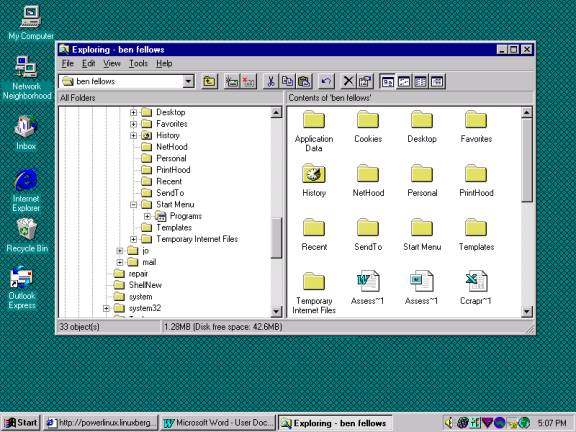
This is the best and easiest way to find and copy files. To start this program, you must move the cursor down to the start button and click the right mouse button.. At this point a menu will come up. Select Explore and left click on this. A ‘window’ will appear which lists folders and files. There are two screens:
· The one on the left ß has all the drive letter names like A( your floppy drive) and H
· The one on the right shows what folders and files are in each drive
Lets say you want to copy a file from ‘H drive’ (The disk drive on the computer) to your floppy disk. That means you would use the scroll bars by clicking on the up arrow to find ‘Disk H:’. Now double-left click on the H drive and what is in your drive will be shown in the right hand window.
To copy a file:
· Double click on the Folder that the file is located in.
· Right click, with the cursor over the file and once again you will be given a menu, click on copy.
· Now insert your floppy drive in to the slot at the front.
· Now go to the left screen and scroll up to find the ‘A drive:’
· Select the ‘A drive:’
· Move the cursor over the Right screen and Right click the mouse again to bring up the menu.
· Click Paste .
· Then your file is copied.
· Now click on the ‘X’ at the top right of the screen to exit windows explorer’.
[See fig 7 here]…
This is a term used to describe saving files and then making a copy of them somewhere else. For example making a copy of a Word file that you saved on your floppy drive, and then copying it to the hard drive and vice versa. This can all be done using the same method on Windows Explorer.
Turning off the computer is not just a matter of turning off the switch, but you actually have to Logout, This involves the following steps:
· Left clicking the mouse/cursor on Start (bottom left corner) and then left clicking the mouse on the Log-out option. The computer will ask you if you want to log-out. Left click the Yes button.
· Now you can leave the computer on.
· If you want to Shut down the computer you would follow the same process, except click on the Shut Down option instead of Log-out. Once again the computer will ask you if you want to shut down the computer. Click on OK to shut down.
![]()
Ergonomics: The safety of the area you are working in
. .
Logging on: Getting into Windows to use programs
Program: help you to make spreadsheets, also called Applications.
Hard Disk: holds permanent information on it
Floppy Disk: holds temporary information
Windows NT: where everything works
Backup: Saving files for use later
Monitor: The big ‘TV’ look-alike, that shows what you are doing on the computer
Workstation: The box that holds your hard drive.
Mouse: Controls the cursor movement around Windows
Keyboard: Used to type in words.
Software: The part that tells what your computer to do
Hardware: Holds all the software
Network: All the computers at Massey University, joined together
Operating System: Windows NT is an operating system
MS Office: The group of PowerPoint, Excel, Word, Access (all programs)
Explorer: Used to move files around
File: Holds information about a document or spreadsheet or any other program
Open File: Opening something you or someone else has created using a program to view or edit it
Save File: Saving information you have created.
Font: How your letters will appear
Close Program: Self explanatory.